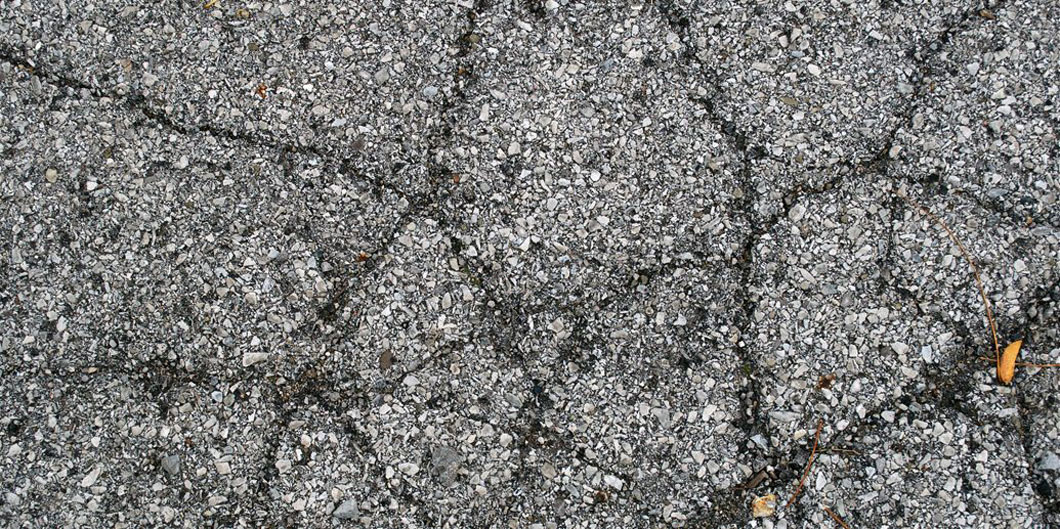
Over time, an asphalt driveway can become dull and sustain damage in the form of cracks and small holes. The hot summer sun boring down, snow and ice buildup in winter, and salts and oils can wreak havoc on the surface of a driveway. Left untreated or repaired, cracks and holes will worsen. The best way to maintain a driveway and extend its life is to take the proactive step of sealcoating the surface.
What Is Sealcoating?
Sealcoating is the process of coating an existing asphalt driveway with a protective coating that seals the surface of the driveway for the purpose of protecting it against elements that can cause the driveway to crack, crumble, and fade. Sealcoating also serves to patch minor issues such as small cracks and holes.
Do-it-yourselfers can take on this relatively simple project themselves, though many homeowners hire a professional for best results.
Sealcoating is generally done every two or three years, but harsh or extreme climates might demand more frequent sealcoating’s. Sealcoating is an easy and inexpensive way to repair minor driveway issues before they become larger and require more extensive repair. In sum, sealcoating extends the life of your driveway and is the best way to preserve the driveway’s clean, black, well-maintained look.
Types of Sealers
Not all sealers are created equal – they are not intended be a one-size-fits-all product. Sealers can be thick, which are best for driveways located in regions that experience a true winter or that have been ignored for a time and developed bumps, cracks, and holes. Some sealers are thin, which work best on driveways in warmer climates or that have been maintained over the years and are in relatively good condition. Other sealers are specific quick-dry formulas; these cure fully within 24 hours, though you can walk on the surface in much less time.
The products that go into sealers are generally coal tar and asphalt emulsion. Coal tar sealers are best applied by professionals. The environmentally conscious might prefer asphalt emulsion sealers, as they release fewer VOCs. Acrylic sealers are even more environmentally friendly, though they are also more expensive.
General Sealcoating Guidelines
- Plan your sealcoating around the weather. As a rule, you will want to sealcoat when the forecast predicts dry weather for at least a 48-hour period and the temperature will remain above 55
- If you have grass along the sides of the driveway, trim the edges neatly just prior to sealcoating and clean up the grass clippings so they don’t blow onto the driveway and get stuck in the If grass or weeds snake up through cracks in the driveway, eliminate these at the source so they don’t return.
- Remove all grease and clean the driveway before sealcoating. Use a hose sprayer or pressure washer to apply a degreaser. For more stubborn grease stains, you might need to use a stronger degreasing agent. Thoroughly cleaning these stains is important because a gasoline or oil stain can actually repel driveway sealer, which will leave an uneven, spotty application of the
- If you have holes, fill them properly and smooth them out for best Use an asphalt patching compound or pothole filler for this purpose.
- After sealcoating, be sure to place a barricade at the end of your driveway to keep vehicular and pedestrian traffic off the surface until it fully
- After the first coat, make sure the application is complete, smooth, and even. If necessary for best results – and depending on the type of sealer you use – you might need to apply a second coat after 24 hours.
With regular maintenance and a little TLC in the form of a fresh sealcoat, your driveway will look and perform like new.
DC Complete Building Company, Inc. is available for consultation on any type of home renovating project you have in mind. Call us today at 810-407-1771.